In forensic investigation, Memory dump, pagefile and hiberfil files
can provide us a lot of data. Memory dump is the file which contains the information
about the cause of the system crash.
From Forensics wiki
Pagefile.sys: Microsoft Windows uses a paging file, called pagefile.sys, to
store frames of memory that do not current fit into physical memory.
Although Windows supports up to 16 paging files, in practice normally only one
is used.
Hiberfil.sys: hiberfil file stores the data when Microsoft windows
computer system is on Hibernate mode.
These files are very useful for
digital investigation because these files are not stored in physical Hard Disk.
First of all download Access Data
FTK Imager from here
so to capture the memory dump, click on capture
memory option.

A new window will pop up. Click
on browse button to select destination path. Select the option Include Pagefile & click on Capture Memory.


After completion of process, two
files will be carved in the specified folder.

To
Extract the Hiberfil file, click on add
all attached devices

Now click on the directory where windows are installed. Select Root Folder and click on hiberfil.sys file.

Now right click on Hiberfil
file & click on Export files.

Select the folder

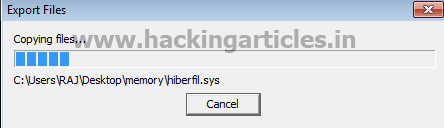
After
process completion, it will show the message about exported file

Now to analyze the Live RAM image
file, we will use Belkasoft Evidence Center.
Now open Belkasoft
Evidence Center. Click on New Option. Click ok.

Enter all the details as well as root folder.

Now select the option Live
RAM Image.

Now select the specified path to mount an image file. In
File Name option select All Files (*) It will show the files. Select Pagefile
.sys.

Now select the option Analyze Data Source click on Next.

To select the
supported data types to curve, Click on Select
All option and click on Finish.

To analyze visited URL. Click on Chrome Live Ram

Similarly Click on Opera Live Ram.

Click on Found Pictures to see the images.

Same method use for hibersys
file


