Showing posts with label Cyber Forensics Tools. Show all posts

Forensic Investigation Tutorial Using DEFT

DEFT (acronym for Digital Evidence & Forensics Toolkit) is a distribution made for Computer Forensics, with the purpose of running live on systems without tampering or corrupting devices (hard disks, pen drives, etc…) connected to the PC where the boot process takes place.

The DEFT system is based on GNU Linux; it can run live (via DVDROM or USB pen drive), installed or run as a Virtual Appliance on VMware or Virtual box. DEFT employs LXDE as desktop environment and WINE for executing Windows tools under Linux. It features a comfortable mount manager for device management.

First Download ISO image of deft Linux from here


After having started the DEFT boot loader, you will see a screen with several boot options. Now click on Install DEFT Linux 8


Now click on continue


Now Select the third party software option and click on continue.


Now it will ask the option to install Kubuntu.
Select Guided-use entire disk and click on install now


Now select your time zone and click ok


Now fill your personal Details and select Continue. Click on Restart Now.


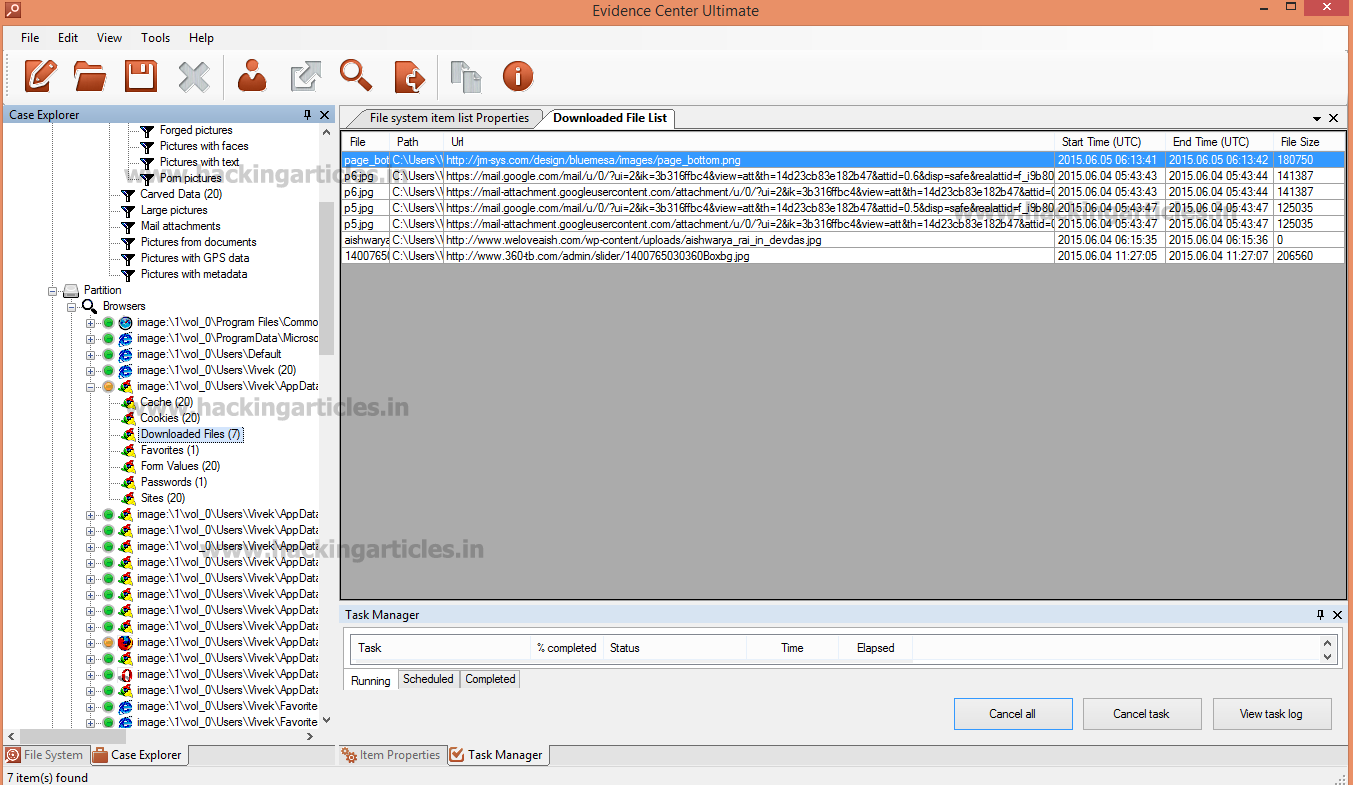
Analysis - Analysis Tools files of different types


Antimalware - Search for root kits, viruses, malware and malicious PDFs.


Data Recovery - File Recovery Software


Hashing - Scripts that allow the realization of calculating hashes of certain processes (SHA1, SHA256, MD5 ...)


Imaging - Applications that we can use to make cloned and imaging of hard drives or other sources.


Mobile Forensics - Analysis Blackberry, Android, iPhone, as well as information about typical databases SQLite mobile devices used by applications.


Network Forensics - Tools for processing information stored in network


OSINT - Applications that facilitate obtaining information associated with users and their activity.


Password recovery - Recovery BIOS passwords, compressed files, office, brute force, etc.


Reporting tools - Finally, within this section you will find tools that will facilitate the task of reporting and obtaining evidence that will serve to document forensics. Screen capture, collection of notes, desktop activity log, etc.


Forensics Investigon of RAW Images using Belkasoft Evidence Center

First of all, download the Belkasoft Evidence Center ultimate from this link.


Click on New Option to select the Raw Image.


Enter the Case Name.
Select the Root folder where Forensic Evidence will be created.
Then type the name of the investigator and Case Description. Click Ok.


Now select the Raw Image and Check the Option Analyze Data Source. Click on Next.


Now Select from supported data types and click on Next.


Now Select all and Click on Finish.


To visualize the cached sites exactly as seen by the user, Click on Cache in Browsers option


To see Downloaded file list, click on Downloaded Files.


To Check the List of Sites Visited by the user, select Sites Option.


To see Cookie List, Click on Cookies Option.


Now click on Documents option and Then Select Found Documents option to see all the office Documents files found in user pc


To see all the encrypted files, click on Found Encrypted files option.  It will detect   more than 150 types of encrypted files. It is also possible to decrypt all these encrypted files with in this product by installing Passware   kit Forensic integrated with Belkasoft Product.


To Find Picture List, Select Found Pictures in Pictures Option. To Detect Forgery in Picture.  Right click on Picture, Select Analyze Pictures and Click on Detect Forgery Tab.


To find the recent files opened by Acrobat Reader, Click on Adobe Acrobat Reader Recent Option.


To See Recent applications run by user, Click on Last Application and Paths in NTUSER.DAT Option. NTUSER.DAT is a registry file in Windows Operating System .Every user profile contains an NTUSER.DAT file.  It contains a unique Documents Folder, Start menu Configuration, Desktop properties and browsing history.


To see last Selected Files by the user, Click on Last Selected Files.


To check the recent files opened by user, Click on Recent files option.


To detect latest searches by the user, click on Searches option.


To find the latest accessed files by the user , click on Recently accessed documents.

How to Clone Drive for Forensics Purpose

DriveClone is a hard disk (HDD) & solid state drive (SSD) cloning and migration software. DriveClone is a time & money saver for server migration, raid upgrading, and system cloning

DriveClone automatically clones your entire machine, including system files, applications, preferences, emails, music, photos, movies, documents, and all partitions. But what makes DriveClone different from other disk cloning applications is that it not only clones all data on a system, it automatically defrags all files, removes junks, resizes partitions, and only clone the files that have been changed since last cloning.

Drive Clone Key Features
·         Keep new! An exact copy of Hard disk or SSD
·         Clone different sizes disks
·         Schedule incremental cloning new!
·         Near real-time MirrorDrive new!
·         Rapid cloning (2X faster) new!
·         Partition 4K aligned new!
·         Tools to fix boot issues & retain GUID new!
·         DriveClone data migration is in Windows
·         Allows user keep working during migration process
·         Cloned disk is immediately bootable
·         Volume and sector-by-sector cloning
·         Smart cloning unique saves up to 70GB by excluding temp and redundant files
·         Universal cloning unique allows booting on other machine
·         Turn your external hard drive into a Mirror Drive unique
·         Factory Recovery Partition Cloning unique
·         Keep up to 99 File Versions on Mirror Drive unique (MirrorDrive)
·         Defrag Cloning unique will increase life-span & performance
·         Directly convert a PC to VMware & Hyper-v virtual machines unique
·         Support SecureBoot, GPT, UEFI, and Dynamic Diskunique
·         Support all sizes (64GB/128GB/260GB/500GB/750GB/1TB/2TB/4TB or larger)
·         Support all drives (Seagate, WDC, Fujitsu, Hitachi, etc)
·         Raid to Hard disk/SSD cloning and migration; and vice versa

First Download DriveClone from here and install in your pc .Drive Clone Workstation is designed to completely copy all files, applications and Windows system from one Hard Drive/SSD/Flash to another Hard Drive/SSD/Flash. You can easily clone your Hard Drive/SSD/Flash to a different size SSD drive (smaller or bigger) for better performance. Drive Clone Workstation will automatically adjust and resize partitions during cloning process to reduce the process complications.
Start DriveClone Workstation.


Double click on One Time Cloning. Clone Drive/Partition(s) duplicates one hard drive or SSD to another hard drive or SSD, and it is immediately bootable. It eliminates the need of re-installing the operating system, drivers and applications when upgrading to a new hard drive or SSD with only a few mouse clicks.


Now Select a Source Disk/Partition and then a Destination Disk/Partition. Click on NEXT to Proceed   further.


It will Show the window popup. Click on YES to continue.


Now it will show two options i.e. Rapid Cloning and Normal Cloning. Check either Rapid Cloning or Normal Cloning and click on Next.


Select Start or Previous option. Previous option is used to modify the current settings. And Start option is used to proceed further.


Now it will show One- Time cloning process.

Now it will show the message cloning completed. Click on Finish.


Now select the target drive and it will show the contents of cloned drive.

Forensics Investigation of Deleted Files in a Drive

First of all download the OSForensics from here.


Select Create Signature Option. Click on Config .


Now browse the desired Directory from Directory list management, in my case I am selecting Desktop.

 Click on Add to list Option to include the directory. Click OK.


Now in start folder option, it will show us the selected Drive i.e. c:\users\raj\desktop. Click on the Start Option.


 It will ask for the File Name, enter the File Name & click on Save. So signature for data drive will be created.


Now does some modification in data drive and repeat the same steps to create another signature after modifications in data drive.


Now click on Compare Signature Option.


Browse both files i.e. Old Signature as well as New Signature Option.


Click on Compare option .It will start the process. Now it will show us the files with their modification status as well as their creation and modification date. We can select show option to see only modified or deleted files.


Now it will show only deleted or modified files with their creation and deletion date.